Thursday, January 23, 2014

Chicken Fajitas


Fajita marinade:
  • 2 Tblsp olive oil
  • 2 cloves of crushed garlic (or minced if you prefer)
  • 1 Tblsp soy sauce
  • 1 Tblsp teriyaki sauce (you can sub ½ Tblsp pineapple juice & ½ Tblsp honey if you don't have teriyaki made up) 
  • ¼ tsp cayenne pepper
  • salt and peper to taste
Fajita stuff:
  • Onions, sweet, I recommend Vidalia for this
  • Chile peppers (if desired)
  • Chicken (you can sub steak or pork or shrimp)
  • Bell peppers, I prefer multi colored because they make it look so pretty.
  • Flour tortillas
  • Zucchini (optional, I didn't include it this time but I do in summer when they are everywhere)
  • Cheese. You can get a Mexican melting cheese if you like, or I usually stick with either a very sharp white cheddar or else I just give in and pick up some queso dip from my local Mexican restaurant.
  • sour cream
  • guacamole
  •  sliced green onions
  •  chopped tomatoes
  • Serve with hot cooked rice and refried beans, if desired.
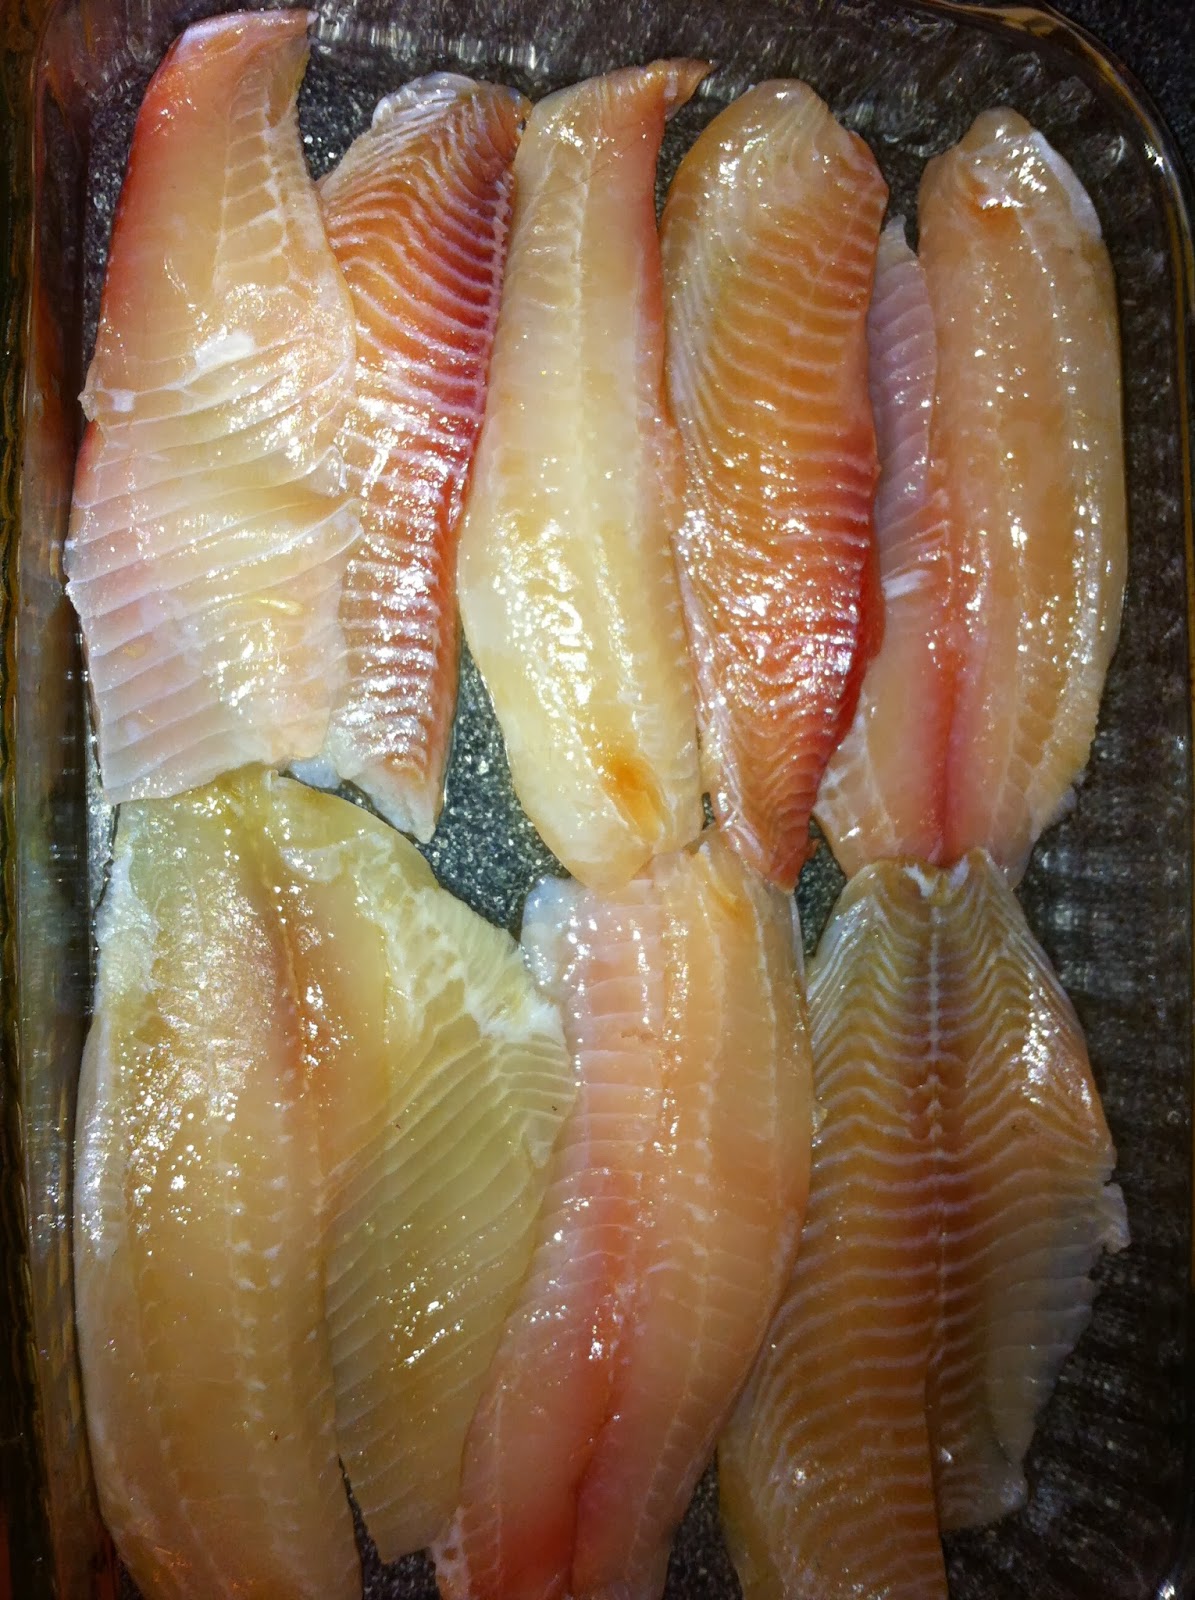
Step 1:Whisk the marinade ingredients together in a bowl... or the easiest way is to dump them all in a large freezer ziplock bag and mix together.
Then you can just toss the meat in there & seal. I cheated. I actually had some chicken I grilled the night before. I'm still going to marinate it though!


Step 2:refrigerate overnight (or at least 2 hours!)
Step 3:Heat the oil in a heavy skillet
Step 4: Slice your chicken into strips.  If you didn't pregrill your chicken, then cook the chicken strips over high heat, stirring constantly until cooked, it won't take long. Cast iron or stainless steel is ideal for this.
Step 5: Drain extra marinade from pan, take out meat and set aside.
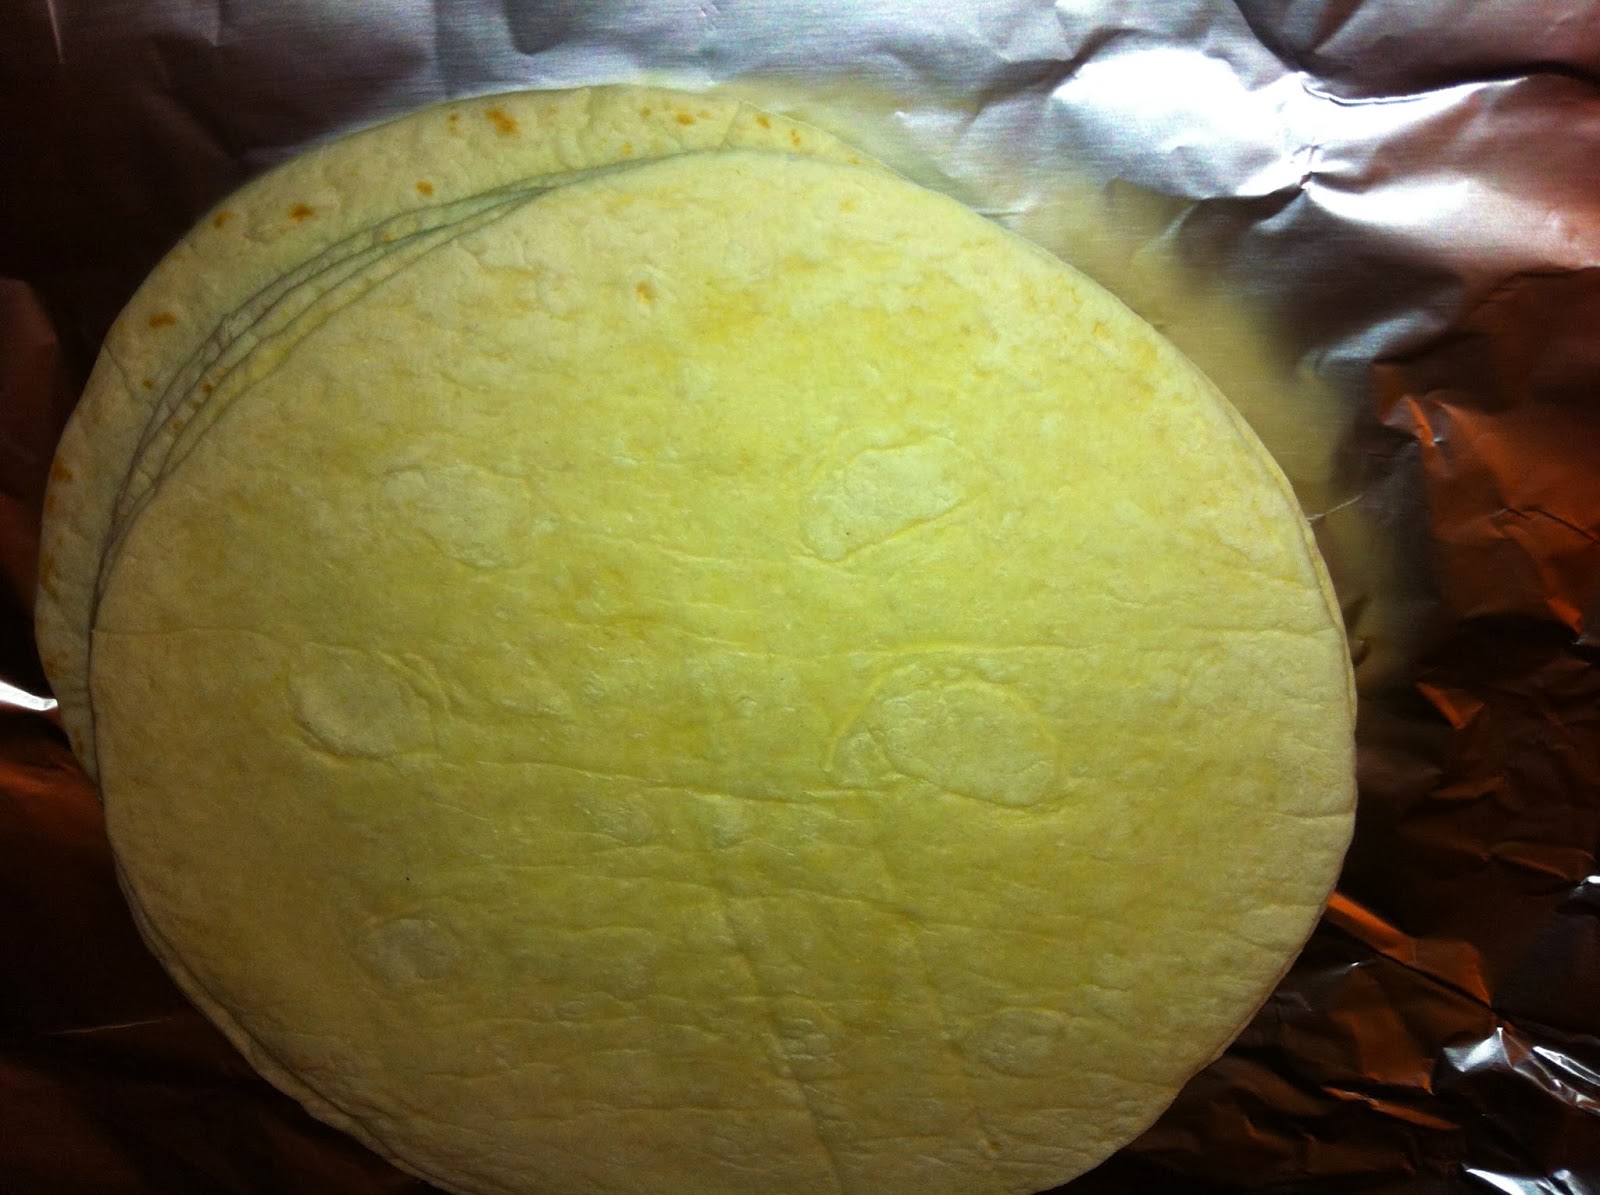
Step 6: Wrap your tortillas in foil and pop in oven to warm.


Step 7: Slice your veggies into nice strips. I love bell peppers. See how pretty they are with the multi colors?


Step 8:Add the onion, garlic and chile peppers to the oil in the pan and sauté over high heat for 2 minutes until crispy but tender.

Step 9:Add the bell peppers and zucchini; cook over high heat for 4 minutes. Again I like mine crispy tender but with a tiny bit of char. If you like tomato in your fajitas and want it cooked now is the time to add.
Step 10: Return the chicken to the pan and heat until sizzling hot. Serve and portion. Top with cheese.


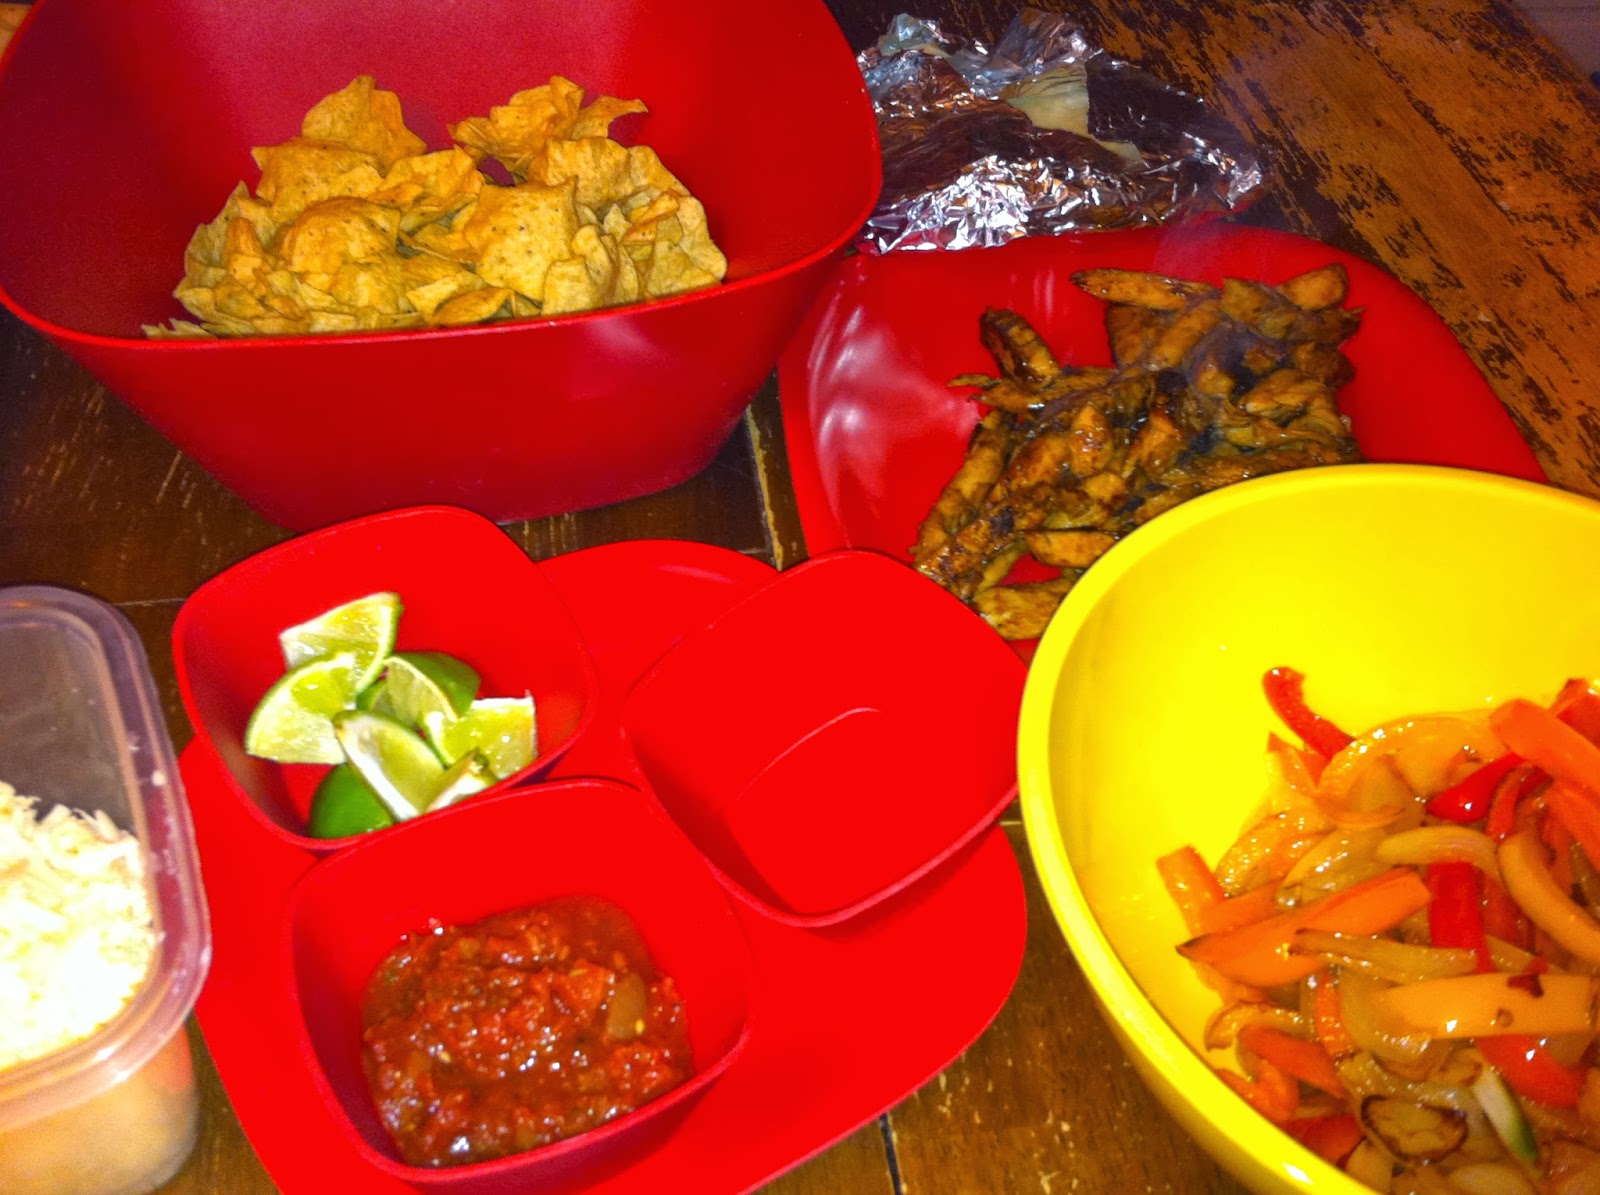
Step 11: Serve right away, with warm tortillas, lime wedges, sour cream, guacamole, sliced green onions, and chopped tomatoes, hot  rice and refried beans, (all optional) This is my homemade salsa. Let me know if you want the recipe for that to go up as well. I always serve with tortilla chips too.

ENJOY! For dessert I made caramel apple empanadas. I'll put those up tomorrow.


Tuesday, January 14, 2014

Seafood Scampi and Fettuccine Alfredo

So.. you know how there are sometimes foods? This is one of those meals. It is probably the only one that will ever come with this disclaimer... but I feel compelled to add this.
To start with, no one meal should contain this much butter. 

It's awesome and it is DELICIOUS and it will make your mouth happy, but not your heart or arteries, so make this a special occasion meal and don't be afraid to have smaller portions than you might want, and a bigger salad. 

Ok, there's the warning. Now onto the good stuff. I wish my pictures of this were better, but this requires a LOT of constant stirring and it makes it hard to get good shots. 

Cook 1 pound of pasta your choice while you are doing this.
Add a dash of salt and a little olive oil to your boiling water and throw in your pasta. Cook per directions on the back. 

This dinner takes some practice with timing, each only takes about 10 minutes, so prep everything in advance and at least the first time, either have help or only make one (If you double the scampi recipe and add about a ½ cup of chicken stock you will get a great light white sauce to put over pasta)

Side note... for the meal I made in the pictures I doubled my shrimp and left out my scallops because the price was ridiculous this week. Feel free to do that as well, or even leave out the shrimp and use only scallops. Crab is excellent too. 

Seafood Scampi
  • tablespoon olive oil
  • 3 cloves garlic minced
  • ½ lb small or medium shrimp, deveined, tails removed
  • ½ lb bay scallops or sea scallops (quarter your sea scallops)
  • ½ cup white wine (or chicken stock)
  • 1 Tblsp fresh chopped basil
  • ¼ teaspoon red pepper flakes
  • 1 lemon (small to medium)
  • salt
  • pepper
  • parsley for color

Cut your lemon in half and squeeze the juice of half over your seafood. Set aside.

Heat oil in a large skillet over medium heat and melt 2 Tblsp butter. (The black spot is apparently where I splashed butter my phone. LOL)

Add garlic and let sizzle for 1 minute more
Add shrimp and scallops, and cook for 2- 3 minutes 

Add wine, basil and pepper flakes
Simmer about 3-4 minutes, until shrimp are pink and scallops opaque

Add 1Tblsp butter, squeeze in lemon juice and stir in salt and pepper and cook til butter has melted.
Just before adding over top of pasta, mix in fresh parsley for color and garnish.


Fettuccine Alfredo
  • 1 pint heavy cream
  • 1 sticks(1 cup) butter
  • fresh pepper
  • 1 cup parmesan or a combo of parmesean and romano cheeses
  • 1 lb cooked fettuccine or pasta of choice
  • salt & ground white pepper, to taste
  • clove of garlic (optional)
Melt butter in a saucepan

Turn down heat to medium low
Add garlic clove (just drop it in to infuse) if desired
Pour cream into pan and whisk together, heat until slightly reduced (about 7 minutes) whisking often

Grind pepper over the top. Now this is going to be "to taste" but I use about 21 quick grinds of my pepper mill and I use a very mild mix of white and black pepper. I know. I'm weird, but I measure things my own way. 

Slowly add cheese, whisking until combined. 

Stir constantly 1-2 minutes until cheese if full incorporated.
Remove from heat and let "rest" 1 min
Toss with pasta.

Now, top your pasta with your seafood scampi.


I serve this with a salad and it's perfect with homemade 2 cheese garlic bread, but I'm saving that recipe for another day. 

Friday, January 10, 2014

Blackberry Vinaigrette

Now, I like salad. When I say, I like salad, I should clarify that. I like GOOD salad with lots of stuff in it, but that's just me. Everyone has their own choice of salad. Here is mine. I'll share what I put in it, but it's really up to you to make yours the way you like.

Lettuce (I use a mix of romaine and iceberg, sometimes some spring mix)
Sweet bell peppers. I like the little ones that my minions refer to as "candy peppers" in multi-colors because they are sweet
Baby carrots
Snow peas
Celery
Almonds
Pomegranate 
Cucumber
There are no pieces of tomato in this because I think tomato is disgusting. (I do include it in other recipes, but no not in a salad)
Texas Toast croutons

I don't know that I've ever made 2 salads that were exactly the same. 

I like good salad dressing if I'm going to use any. Sometimes I just pick a roasted garlic rice vinegar and go with that instead but if I want dressing, I want something that's going to make the salad. 

These inspired me. I can't even tell you how much I love blackberries. Normally I wouldn't want to "waste" them on something like a recipe, because I prefer to just stuff them in my mouth, but this was a giant container of them so yum.


This one is pretty easy. You can use a food processor, blender or I used my magic bullet. 

Ingredients
1 ½ cups of fresh blackberries
3 Tblsp balsamic vinegar
1/2 tsp minced garlic. You can use fresh or jarred, do not try and substitute powdered. 
This is an example of what the minced garlic looks like. 

1 Tblsp agave nectar
1 Tblsp honey
½ cup olive oil
Salt 
Pepper
Italian seasonings (you can use what you like or you can buy a mix like this one from Pampered Chef*) 

* I am not a PC consultant, but I do like their products, particularly their stoneware. I don't buy many of their mixes, but I know that by region brands of things may vary by store. I figured I'd use something you can get pretty much anywhere. 


Steps:
  1. Wash your berries and set aside. Measure out 1½ cups. I measured 2 and ate half a cup, because well... blackberries. 
  2. In your blender, food processor, whatever device you are using, combine your vinegar, salt, pepper, garlic, agave and honey. I really like the blend of the agave and honey but you can just use the honey if you don't have any agave. 
  3. Drizzle in your olive oil slowly. If you are using a magic bullet like I did, add it half at a time, blend and then add the rest.
  4. Taste. This is a really important step. You need to make sure you don't want it sweeter. If you do, experiment with the honey and agave until you get a blend that is right for you. 
  5. It's going to be really pretty. You can strain it through cheesecloth or a fine sieve if you have one to remove the seeds. You don't have to, but I like it better that way. You need 2 hands for that so you don't spill it all over the counter so I don't have any pictures of that.
  6. Pour it into a container that has a lid because this makes a bottles worth. 
  7. Then you say TADA and everyone thinks you are awesome.
Go eat salad. It's good for you and it makes an excellent salad dressing delivery system. Besides, tell me that isn't pretty!


Thursday, January 9, 2014

Honey Lime Tilapia in a Buttery Cracker Crust

This is one of those dinners that looks a lot more impressive than it is.
I need different plates I think to make my pictures look better.

If you dismiss this because you don't like fish, well, maybe try it. Tilapia is not a fishy fish and it might change your mind.
This also cooks up nicely using chicken (cook about 35-40 minutes if you use chicken)
I am serving this with roasted carrots (which are to die for. I mean it. You might die for these)
A salad with homemade blackberry vinaigrette dressing... (which will be it's own post) and what we call hot crash potatoes.

I originally got the recipe for those from Pioneer Woman several years ago, she calls them crash hot potatoes and we just have it backwards. If you don't follow her blog, you should consider checking it out. She's got some awesome stuff and while some of her dishes aren't exactly what we are looking for, she's got just as many that are! 

Roasted Carrots:
Ingredients:
  • 1 bag of baby carrots or a pound of so of fresh carrots 
  • Salt
  • Pepper
  • Olive oil
  • Herbs as desired (rosemary, thyme, dill, your choice) 
  • Honey (optional) I used it today because it tied into the theme of dinner
Step 1: Wash and slice your carrots to uniform pieces or use baby carrots
Step 2: Take your carrots and place in a ziplock 
Step 3: Drizzle with olive oil and close the bag. Squish to evenly coat in oil... or you can just mix in a bowl
Step 4: Pour into roasting pan and sprinkle with herbs, salt and pepper. 
Step 5: Bake in a preheated oven at 450°F for about 35 minutes. At last turn drizzle with honey, place back in over for about 5 minutes.
(After 30 min can be lowered to accommodate other recipes)


Honey Lime Tilapia in a Buttery Cracker Crust

Ingredients:
  • 4-6 pieces of tilapia. I always get boneless and I select my filets based on size. They should fill a pan or however many you need. This does reheat shockingly well. 
  • Salt
  • Pepper 
  • 1 fresh lime
  • Honey- you're not going to use much so if you're running out it's ok to set the bottle upside down so you have enough to work with. 
  • 3 tablespoons butter
  • Odd twist of an ingredient, 1 sleeve of ritz crackers. I prefer the honey wheat but you can use whatever. Even the football shaped ones or some shaped like christmas trees. Generic are fine and much cheaper 


Step 1: Arrange your fish in a 13x9x2 pan (or the equivalent) Sprinkle with salt and pepper.

Step 2: Take your lime and roll it on a flat surface  like a cutting board, your counter whatever you have handy. I love limes!

Step 3: Slice it in half and squeeze the juice over the fish. You should use BOTH halves.


Step 4: Next take the sleeve of crackers and crush them. I give mine to my minions and have them crush them right in the tube. When they're careful they it doesn't even make a mess! They should be finely crushed with only a few little bigger pieces. 

Step 5: Sprinkle crumbs evenly over the top of the fish, it should cover it completely 

Step 6: Cut butter into equal pieces, place in microwave safe dish and microwave til melted and drizzle evenly over the pan of fish 


Step 7: Bake in a preheated oven at 425°F for 15-20 minutes, or until fish is flakey and crumbs are golden brown.
Step 8: Pull out of oven, drizzle honey over the top put back in.  Shut off open and let sit 2-3 minutes.

Serve. 

Sunday, January 5, 2014

We call these Apple Cannonballs

So, these are a HUGE favorite at my house every winter.  I make these for breakfast when I want to spoil everyone, or sometimes even as a side dish cause they are great with pork... chicken too, but most often they are a dessert. (Try them with ice cream. Seriously. You'll want to send me presents after you do)

These are awesome made on the grill too, but I save that for summertime. Your timing on that will be about 20 minutes to cook them and wrap them in heavy duty tinfoil instead of the lightweight stuff.

I went back and forth on what to show you for the first real post, and decided this was it, because... well... apparently I had an overabundance of apples. 

See? In fact, I had so many that I tripled it and made 12.
Stop judging me. You'll make 12 too.


INGREDIENTS:

                                             
  • 1/4 cup raisins. Golden are perfect, but regular work too. This time I used regular so they showed up better in the pictures.
  • 1/4 cup of brown sugar (light, not dark)                                                  
  • Nuts(optional) Some, a handful, however many you like. I suggest walnuts although pecans are REALLY good as well.                                    
  • 1/2 teaspoon cinnamon
  •  1/4 teaspoon of nutmeg
  •  1/4 teaspoon of ginger
  •  Dash of allspice

  • You can substitute about a teaspoon of apple pie spice for the nutmeg, ginger and allspice, but keep the cinnamon, you can't really over the cinnamon in this.       
  • medium to large apples. Any will do but best results come with a baking apple like Granny Smith, Mac's or my favorites are Cortlands. I did not have good results with Honeycrisps, but those are perfect for eating just the way they are anyhow!(I actually made 12 in this batch)                           
  •  ABOUT 2 Tablespoons of butter, softened.
  • You will also need tinfoil.

  •  
    Step 1. Preheat your oven. I'm going to assume you know how to do this part. 350*F
    Step 2. Select your apples. I went with a mix of Cortlands and Granny Smiths.
    Step 3. Measure and then combine your  brown sugar, raisins, and all your spices in a bowl. You can set this aside for now.


    I have adorable heart shaped measuring tools, but it's ok if you don't. It will still taste just as good. (Remember, I'm making 3 batches at once)
     
     
    Step 4. Optional. Chop nuts to small pieces. If you don't like nuts skip this step. If everyone in your house likes nuts, add to the bowl. If only some do, keep these off to the side. That's what I have to do, but if everyone is a fan, toss them in!
     
    Step 5. Core your apples. Be careful. It really only hurts the apple for a minute.
     
     
    If you have an apple corer that makes it easy. You can also use a melon baller and scoop out the core but that takes a while. I have this awesome sharp stabby thing that is meant for cutting stuff like watermelon. I think it's called a v-cutter. Mostly I just call it the stabby thing. I make sure to stab it ALL the way through the apple so I can just push the core out.
     
    BE CAREFUL. Blood does not add to the flavor. Not even a little. These are NOT vampire apples.
     
    Step 6. This one's super hard. Place each apple on an individual piece of tinfoil. Ok, it's not hard.
     
    Step 7. Spoon the mixture into the apples.
    Really use your spoon .. I use my fingers usually, to pack the filling into the center of the core. It makes ALL the difference. You get more filling and they just cook up better.
     
     
    This is where you add nuts if only some people in the house like them. Do the no-nuts ones first, then add the nuts to the bowl and continue the process for the ones with nuts.  Here's a handy hint in case you have to do this. I use food safe marker to write on my parchment paper and then set them on it accordingly.
    This is how I like it. With nuts. Then it's a breakfast food.
     
    Step 8. Seal the top of each apple with a dab of butter. You'll see as soon as you spread it onto the apple. Mmm It's going to be SO good.
     
    Step 9. Seal tightly in the foil. Cannonballs. See?
     
     
    Step 10. Bake for about 30-40 minutes on a cookie sheet lined with foil or parchment paper for easy cleanup. Depends on the size of your apples, but they should be soft when you touch them. (Carefully test this by poking them with a fork)
    They're done. TADA! At this point you should say TADA and then everyone will know something good is coming.


    Let them cool as long as you can, it's going to be hard to resist.  Place in boil, open the foil, and smash it with your fork. It comes out the consistency of a mashed potato and is so good I can't even tell you.


    Here's one.
     
     
     This was a Granny Smith, I wish I'd actually thought to take a pic of one of the Cortlands because they are prettier, but they taste amazing and flavor isn't dependent on the pretty factor! The color will fade from the skin, and you might want a knife for the skin if you plan on eating it? (Why wouldn't you, it's fantastic!)
     
     
    Anyway, that's all there is to it. Oh, if you have any left over, put it in an airtight container, save it for oatmeal or on top of a muffin or ice cream. It's amazing on toast too.
     
     
    Enjoy!